
Who knew cleaning could be so fun.
At the beginning of the year the YAK team all set out knitting resolutions for ourselves. Amy’s was to knit herself her first jumper. Elodie’s was to knit her first cable project and mine was to put all of my yarn stash on to Ravelry to make the most out of all the great features Ravelry has.
They are all on their way with their resolutions whereas I hadn’t even made a start. When we decided to theme the month of May as spring cleaning month on the blog it seemed like the perfect opportunity to kill two birds with one stone. To get my stash out, give it a good spring clean and add it to Ravelry as I went.
I showed the process on our stories on Instagrm. They are all still available to watch in the highlights if you missed it. I set out 4 stages:
- Find all yarn from all corners of the house. Organise it into categories.
- Photograph and add all stash to Ravelry. No matter how small.
- Look through and shake out yarns. Check for damage, rewind skeins if necessary.
- Store away

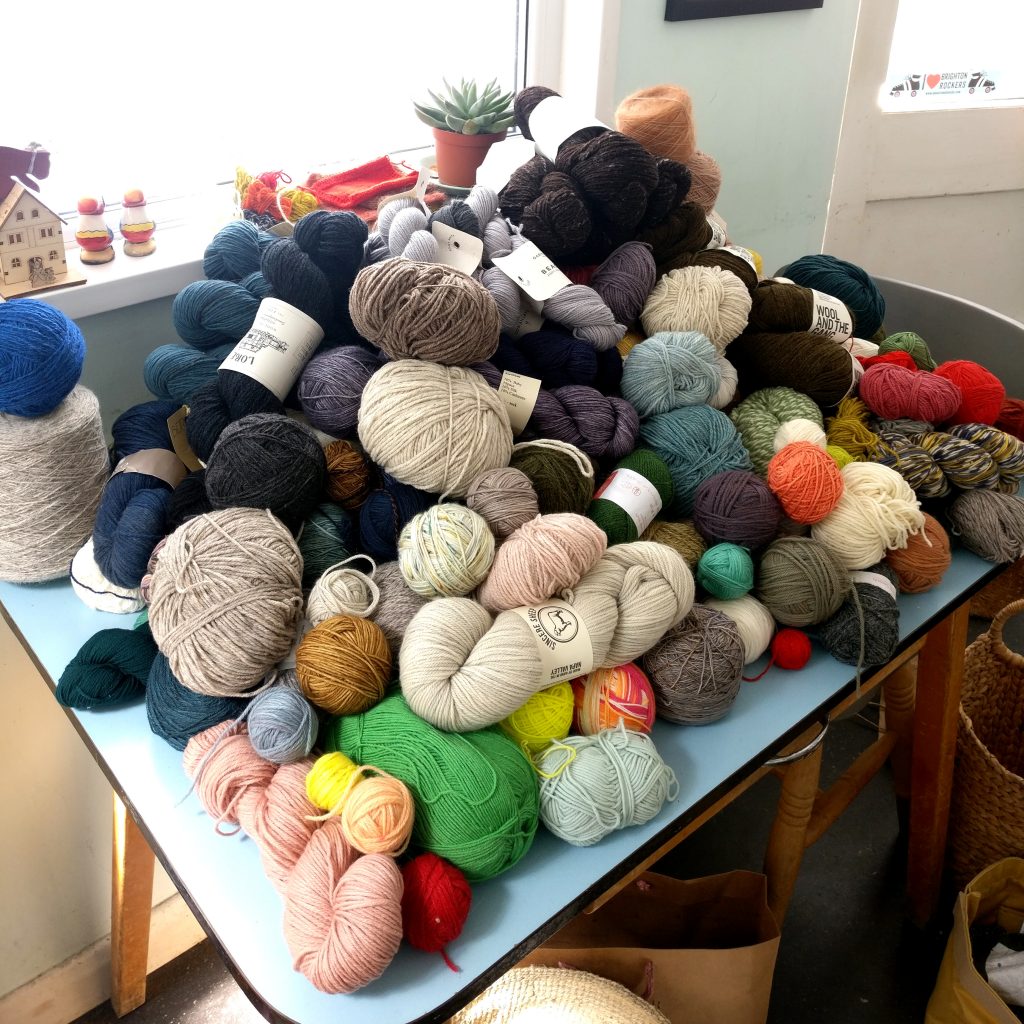
Step 1: Find all the yarn!
This was quite an alarming step. Most of my stash is all on one shelf in a cupboard. But I found quite a lot around the rest of the house as well. It made for a big pile!
Next I organised it first into 2 piles, full unused skeins and ball and leftovers. Each of those piles then got organised into weight and I added an extra category, jumper quantities to my full skein section. I think this categorisation will work well for me but you might find something else works better for you. Other people have suggested by colour or by fibre. It will all depend on how much of a stash you have and how you think you will want to access it.

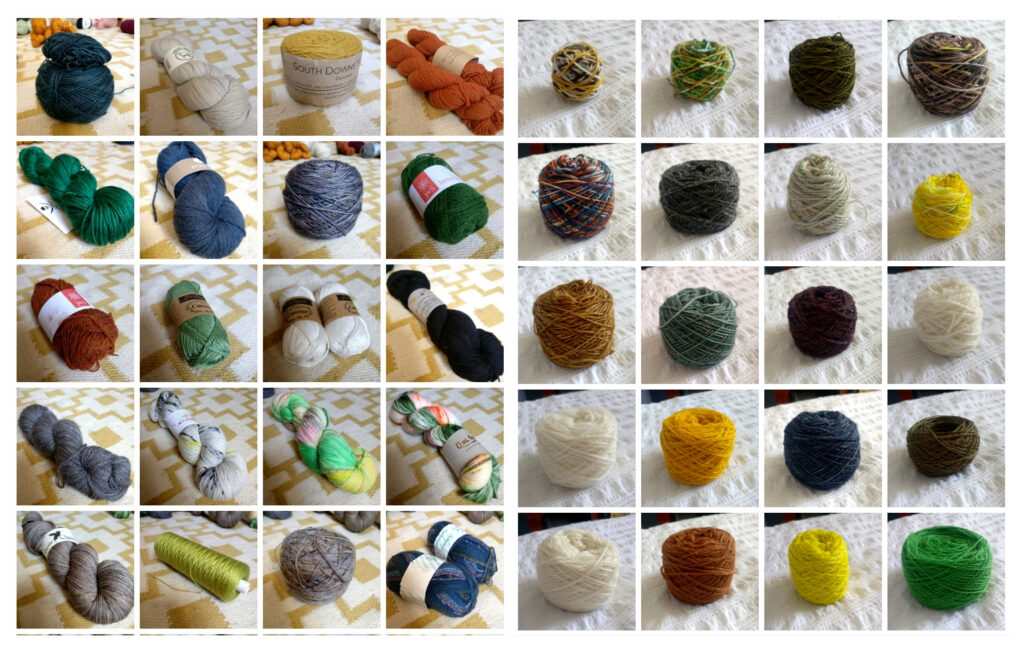
Step 2: Photographing and adding to Ravelry.
This step was quite time consuming but adding the information to Ravelry was actually a lot more straight forward than I had anticipated. I did it in categories so it could be done in more manageable chunks. I could then have all of one category out, photograph it all at once and have it next to me as it went on Ravelry so I could weigh the leftover balls as I went. I walked though much of the process in a video on our Instagram stories so if you’d like the visual please check those out in our highlights.

My top reasons to add your stash to Raverly:
a. Record keeping. As much as I recommend to our customers that they should keep their ball bands so that they can reference them later, I quite hypocritically, don’t. However, by putting all the information of the ball band information into Ravelry, dye lot, colour, etc means you have it all there saved so you don’t need to keep your ball bands.
You don’t have to add everything to Ravelry. Photos look nice, dye lot information might be useful at some point but it’s all optional. The one thing which isn’t really optional to make use of Ravelry filtering and search functions is linking the yarn to its relative yarn page and adding in the quantity you have. Just doing this will mean that almost all of Ravelry’s great functions will work.
b. Stash page filtering. We all know how clever Ravelry is when we use their pattern filtering functions and the stash page has similar capabilities. You can sort your stash page in a plethora of ways and you can filter for pretty much anything you like. Weight, fibre and then fun thing like “in a project”, “queued” and “partially used”. These last one will really come into their own as you start using your stash in projects.
c. Pattern searching. This last I think is the one most people don’t realise exists. When you are browsing patterns if the pattern suggests a yarn that is in your stash an extra link will pop up on the page “in my stash”. Even more clever, this link will also appear if someone else has used a yarn, something different to the recommended yarn, that you also have in your stash. And when you click through the link it will then tell you how much you have in your stash! Ravelry is amazing.
Step 3: Check and clean your stash.
This is a really important step. We’ve talked on the blog this month already about how to keep your knitwear clean and how to fight off moths. And this is really just the same. Moths don’t want to be disturbed so the more you move your stash around the better.
Give all your skeins a good shake and pat down your balls. Give them a really good looking over, dig your fingers in and check into the middle of the balls. Breakages should be obvious but if you’re concerned it might be a good idea to re-wind balls so you can look though the whole length.
And this is really just the same. Moths don’t want to be disturbed so the more you move your stash around the better.
Give all your skeins a good shake and pat down your balls. Give them a really good looking over, dig your fingers in and check into the middle of the balls. Breakages should be obvious but if you’re concerned it might be a good idea to re-wind balls so you can look though the whole length.

If you do find anything dodgy make sure you put it to one side for freezing. Freezing for 72 hours should kill off any nasties but when adding back in to your stash I would recommend put it in a separate bag with a note just to make sure it doesn’t contaminate anything else. Direct sunlight will do the same thing. If you live somewhere the sun shines for hours and days on end this is an option. It won’t work in the cloudy UK.
When packing your yarns back up you can add in some extra protection. Lavender and ceder balls are great natural options. Cedar wood will need to be sanded once a year and you can add essential lavender oil to your lavender bags if they become less potent over the years.
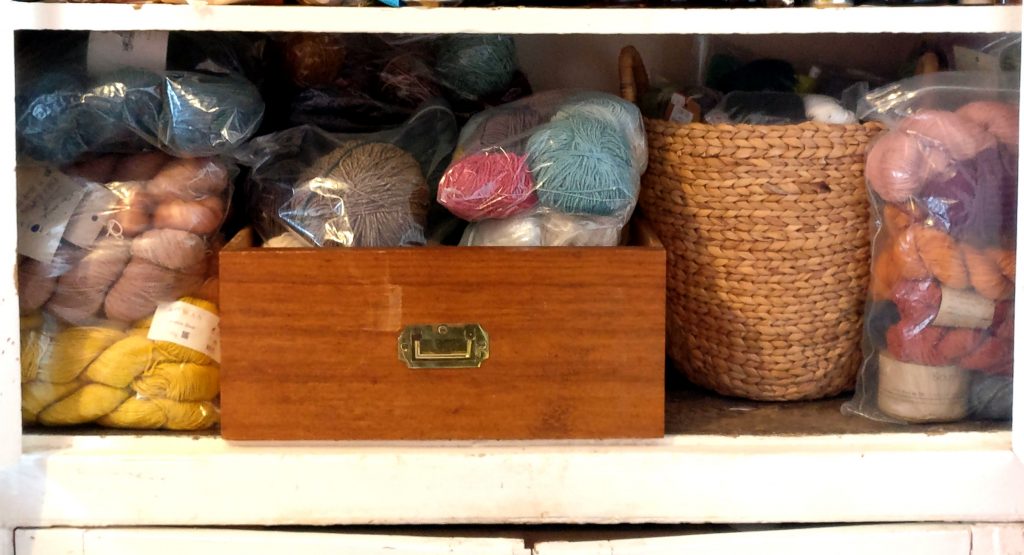
Step 4. Store your stash away.
I’m a user of plastic bags for storing my stash. I reuse bags we get in the shop from suppliers and they last for year and years. They might not be pretty but I’d rather not have to worry. Just make sure they seal and have no holes.
And here is my stash all back in its cupboard. Looking organised and I feel great knowing its clean and safe.
Reacquaint yourself with your stash. You are much more likely to use yarn if you know you have it. You also might find some hidden gems you’d forgotten all about! Check it! Nasties like moths love dusty dark places. Giving your stash an airing and a good shake about will guard from natsies and give you the opportunity to find any damage so you can cull it before it spreads further. For me putting my stash onto Ravelry has been so inspiring. Perhaps a bit distracting as well as it’s given me about 100 new ideas for projects but I think that is a good thing, get that mojo going!
Let me know if you’ve been inspired to clean your stash or add it to Ravelry!
Until next time… Happy knitting


 No products in the basket.