I always find that the arrival of clear skies, fresh breezes and sunny weather puts me in the mood for organising my life and in turn, my knitting. And whilst I try to keep on top of my yarn stash organisation and do regular cleanings throughout the year, there is definitely something about those fresh spring days that make it so much more appealing to spruce things up a bit!
This post is going to be structured similarly to how Kate organised her stash a couple of years ago, and whilst there are a few key points that should be done when cleaning your stash we all have different ways of organising.
Read more >>> Kate’s Stash Spring Clean
THE STAGES OF YARN STASH ORGANISATION ARE:
- Find all the yarn in the house and organise it into categories.
- Look through and clean yarns. Check for damage, rewind if necessary.
- Store away
CATEGORISING MY STASH
1. CHOOSING A SYSTEM
As both a hand and machine knitter I do try to keep my yarns organised in order to keep the two separate. You can technically interchange a machine yarn for a hand knit project and vice versa, but there are certain differences between the two so it is best to keep them apart. I started with my machine knitting yarns as these were already the most organised and therefore would take less time to catalogue.
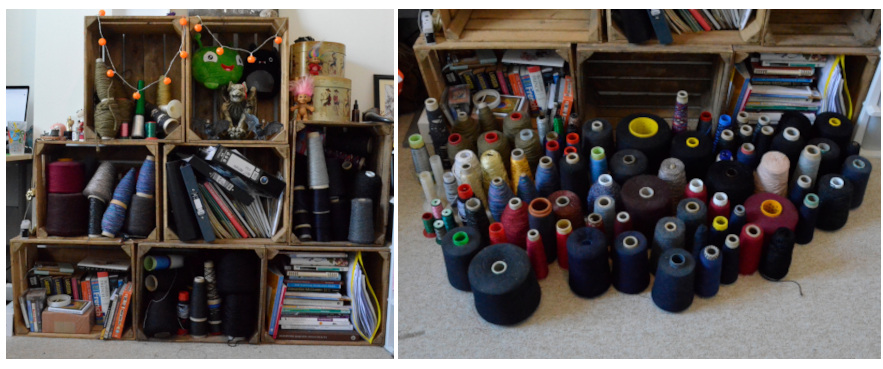
I keep all of my machine yarns in these repurposed apple crates, partially because I like the design aesthetic but also because I find it’s easier to store coned yarns this way. They don’t squish up as easily as balls or skeins so the crates allow for a little yarn jenga without taking up valuable storage space elsewhere in my flat.
I began by taking all of the yarns out of the crates and placing them on the floor. They were originally organised by colour but had been moved out of place over time. These yarns tend to get moved around more anyway due to them falling out of place or being shuffled around whilst searching for a yarn, but some still needed a little cleaning.
2. CONED MACHINE KNITTING YARNS
Coned yarns are a little harder to clean than balls or skeins as the dust tends to settle in deep and they can’t easily be unwound and shaken out. I gave them a dust over and picked off any residue in the process before re-organising and placing back on the crates.
As the majority of my machine yarns are the same weight (equivalent to hand knitting lace weight or thread) I decided to organise by colour, leaving one crate spare for any chunky yarns. I tend to knit mostly in dark tones so the three remaining crates were organised as such: one for black yarns, one for navy/grey yarns and one for colour, going from red through purple and blue to yellow.
3. HAND KNITTING YARNS
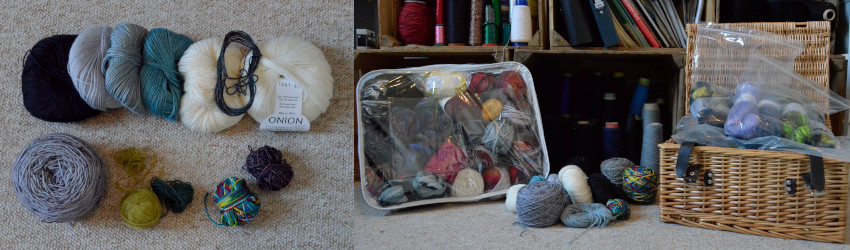
Next I had to tackle my hand knitting yarns which was a much bigger task. Again, I started by collecting all my yarn and placing it in a pile – this took longer than the machine yarns as I tend to be a little more chaotic with my hand knit yarns, keeping them scattered around my flat.
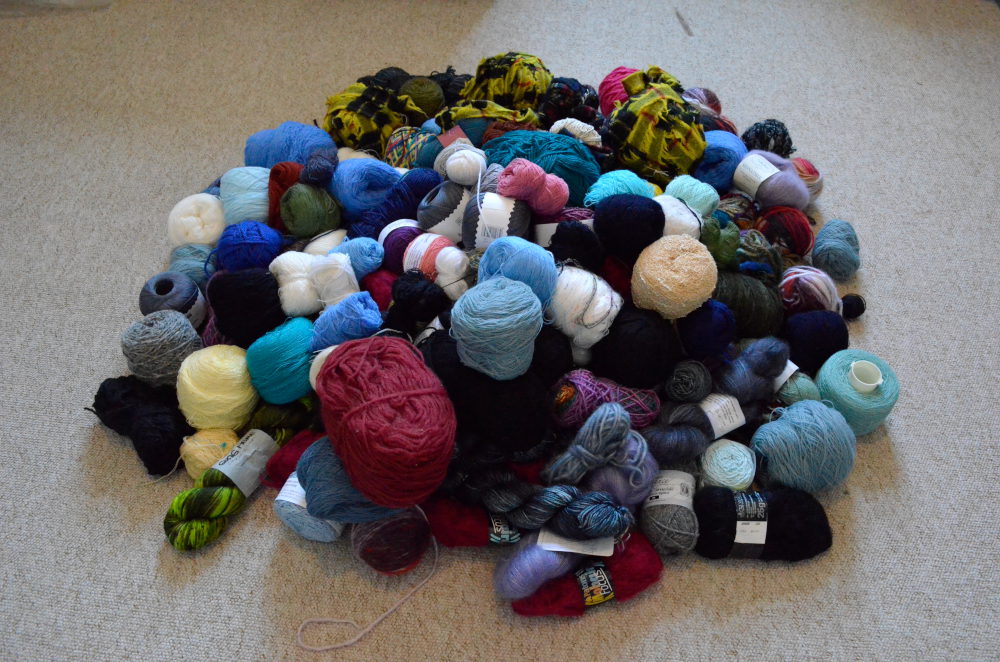
Once I had my pile I began to separate them by weight, putting full skeins or jumper quantities in their own pile. Surprisingly I ended up having much more lace weight yarn than expected and so I separated this further by fibre content: Plant fibres, wool and fluffy (mohair or alternative). Then, starting from the smallest pile I began checking and cleaning the yarns.

CLEANING
1. CHECK FOR MOTHS
Keeping your knitwear clean is a really important step and this includes your yarn stash. Moths can wreak havoc on your knits so it’s better to prevent their presence in your stash. Start by giving all your skeins a good shake out and pat down your balls. Give them a really good looking over, dig your fingers in and check into the middle of the balls. Breakages should be obvious but if you’re concerned it might be a good idea to re-wind balls so you can look though the whole length.
2. MANAGE ANY PROBLEMS
If you do find anything dodgy make sure you put it to one side for freezing. Freezing for 72 hours should kill off any moths or lingering eggs but when adding back in to your stash its best to put it in a separate bag with a note to make sure it doesn’t contaminate anything else. Direct sunlight will do the same thing which is great if you live somewhere the sun shines for hours but not so great for the cloudy UK climate.
3. REPLENISH PROTECTION
When packing your yarns back up you can also add in some extra protection. I personally like to use handmade lavender bags which I add lavender oil to once a year to keep up their potency. Cedar balls are another great natural alternative.
STORING MY YARN STASH
Once I had sorted through and cleaned each weight of yarn I then placed them in plastic re-sealable bags to keep them airtight, before labelling them and storing them in a large box on top of my wardrobe for extra protection. I kept full skeins separate to the rest of my stash, organising them in separate bags categorised by the projects I intend to use them for.

REGULAR SORTING IS KEY
Regular stash sorting is great for keeping things clean but it also allows you to reacquaint yourself with the yarns you already own. If you’re like me and you don’t tend to add your yarns to Ravelry things can be easily forgotten but through the process of stash cleaning I have found some beautiful hidden gems that have inspired new project ideas!
Will you be sorting through your stash this Spring? Let us know in the comments what gems you have found!


 No products in the basket.